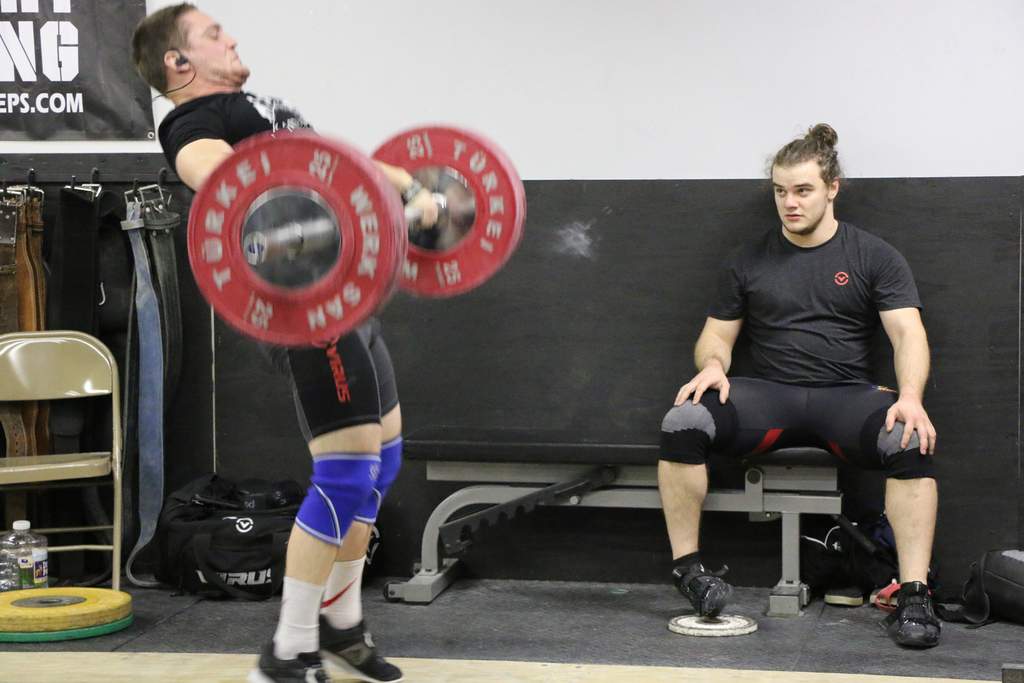
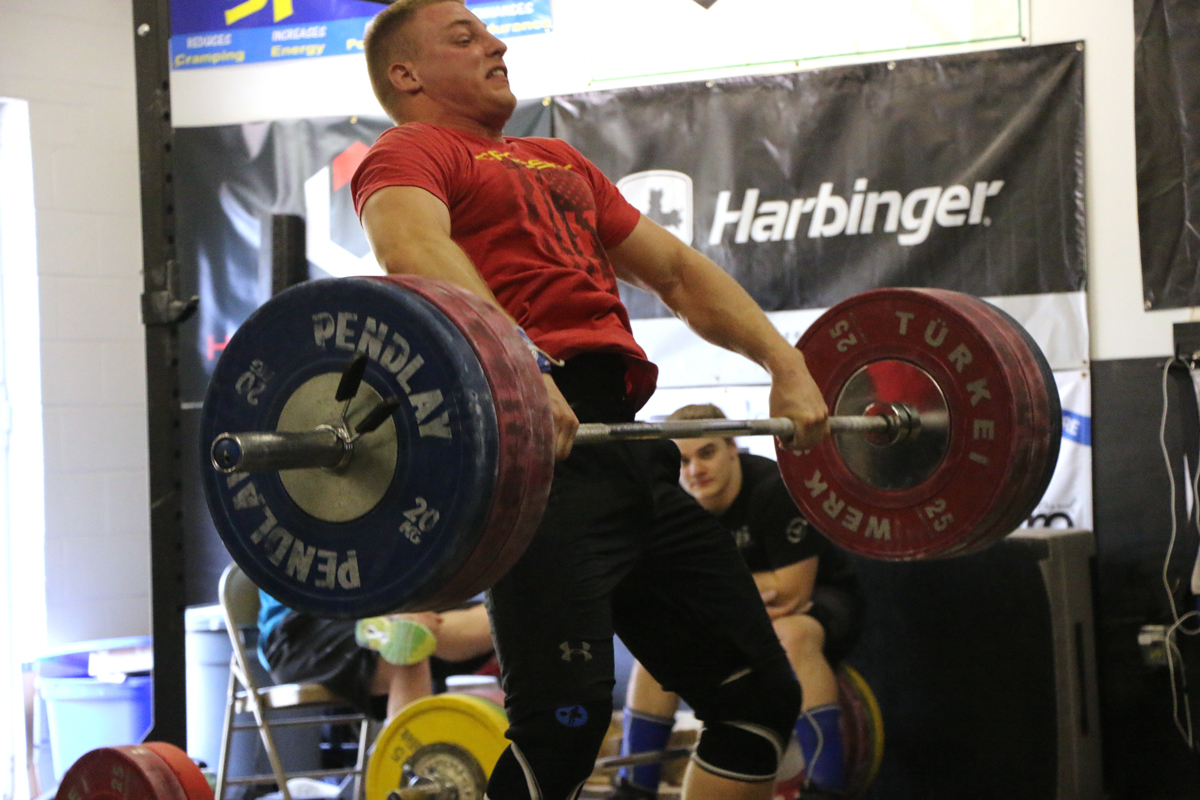
If football is a game of inches, then Olympic weightlifting is a game of millimeters. One millimeter off during the pull can mean disaster for a lifter.
That’s why frequency is so important – it helps you dial in the mechanics of the lift. This is obviously crucial for the sport of weightlifting, but the mechanics regarding the Olympic lifts are also important for CrossFit athletes and for strength and conditioning.
If you’re performing the Olympic lifts for strength and conditioning, you’re probably concerned about power output and velocity. Dysfunctional movement patterns in the Olympic lifts will slow the bar down, yielding less of a return on your time invested in the lift. I’m well aware of the time constraints in the strength and conditioning world – especially at the collegiate level.
If you are a CrossFitter or a CrossFit coach, velocity and efficiency are everything. The goal of most CrossFit workouts is to perform the exercises faster than everyone else. You also want to be efficient and use as little energy as possible to perform each movement in the workout. Have you ever watched one of the Games athletes perform butterfly pull-ups? Mainly due to perfect technique, they perform pull-ups with little to no effort. If they’re cycling a barbell, they’re going to want to perform the movement as perfectly as possible.
The Three Pulls
In your quest to master the mechanics of the Olympic lifts to maximize your own velocity and efficiency, you must understand the various segments of the pull and how they relate together.
You may hear weightlifting coaches talk of the first pull, second pull, and third pull.
The first pull is the pull from the ground, keeping the athlete’s shoulders over the bar – all the way until the athlete starts the transition to having their shoulders on top or slightly behind the bar. The transition from there to the final hip and knee extension at the top is the second pull. The third pull is the aggressive pull underneath the bar before the athlete catches the bar.
A strong first pull sets you up for a strong second pull. A strong second pull sets you up for a strong third pull. A strong third pull sets you up for a strong finished lift.
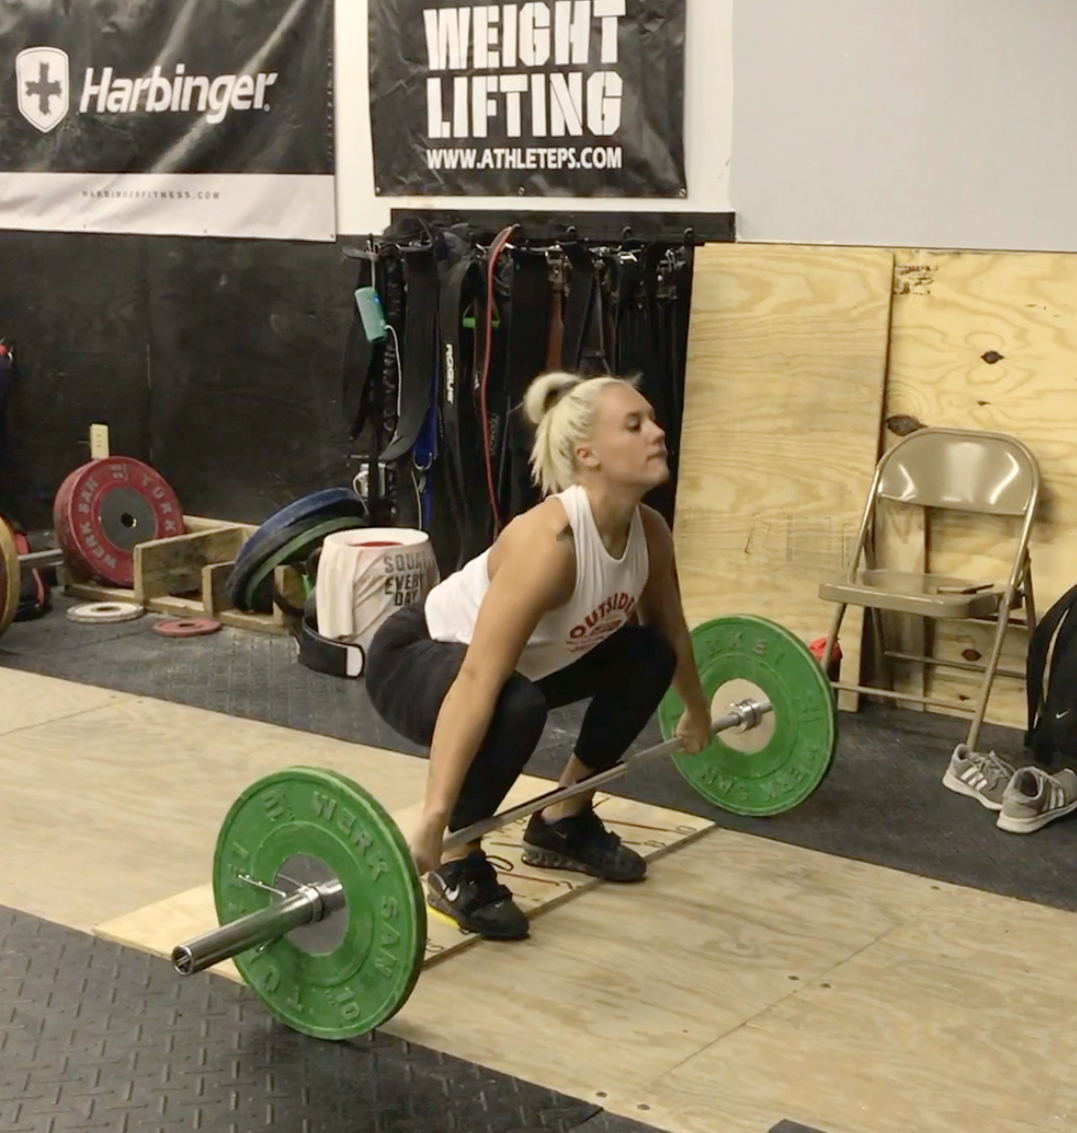
The First Pull
At the start of a snatch or clean and jerk, an athlete will set up in a position where the shoulders are on top of or in front of the bar. (Sometimes an athlete will set up in a position where the shoulders are behind the bar, but this is more for a dynamic start. By the time the bar breaks loose from the floor, the shoulders will be on top or slightly in front of the bar.)
During this first pull – the pull off the floor – we encourage our athletes to stay in a position where their shoulders are over or slightly in front of the bar for as long as possible. Somewhere during the pull, you will transition your shoulders to on top or slightly behind the bar – but the goal is to stay with the first pull as long as you can:
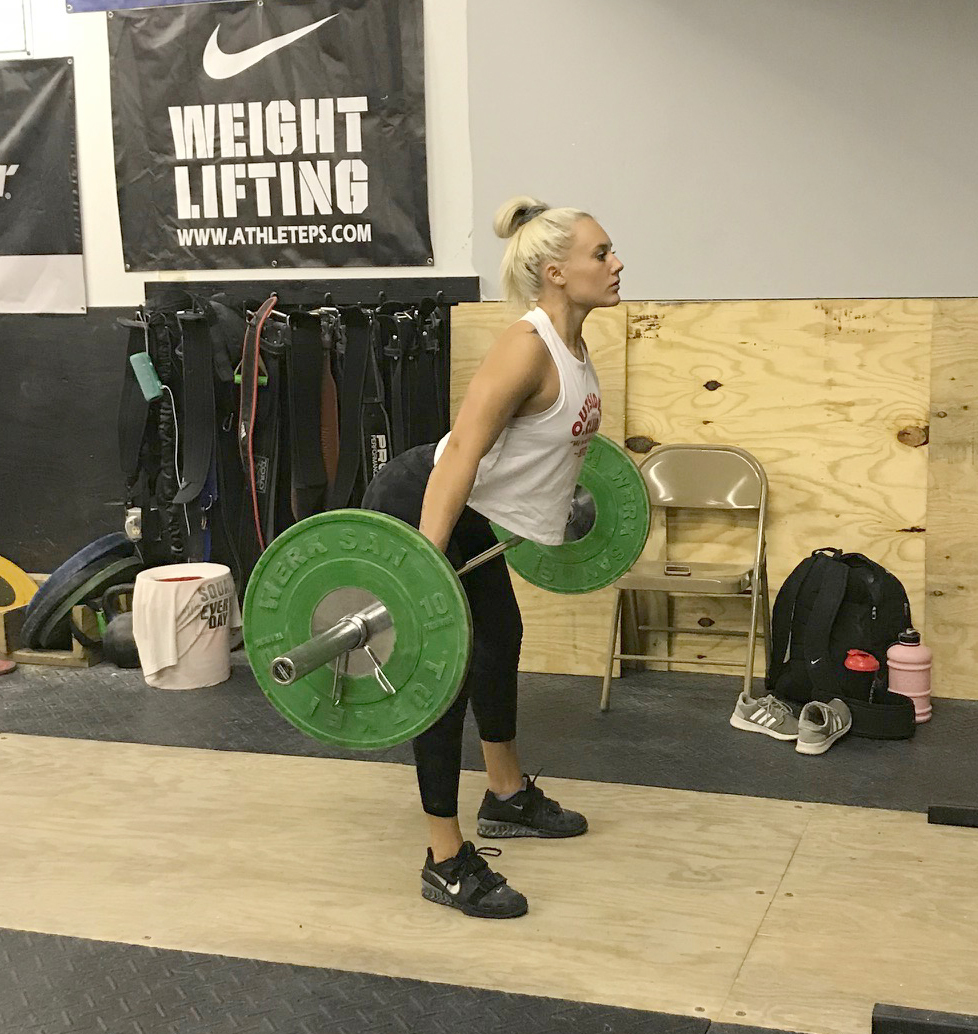
By keeping the shoulders over the bar for as long as possible, you are ensuring three very important things:
- You are lengthening the hamstrings for a maximal stretch reflex going into the second pull, which accelerates the bar when it counts.
- You are using the strong muscles of the quads to maximally drive into the ground. This action also ensures that the knees move near to extension, which gives the benefit of the biarticular muscles of the hamstrings. Biarticular muscles are muscle groups that cross two joints. The hamstrings cross at the knee and the hip. When you lengthen the hamstrings at the knees, force is then transferred up the hamstrings to aid in hip extension. This creates more force application during the second pull.
- The bar is higher on the body when the bar and body make contact. This will peak the bar at a slightly higher point.
TIGHTNESS IN THE FIRST PULL
During this phase of the pull, it is important to have the shoulder blades packed together and braced down with the lats. This will help to shorten the intervertebral joints, which helps to shorten the spinal flexor moment just a bit. This makes it easy to keep the back in extension. If your back begins to round, you will obviously lose some force being applied into the bar. This reduced force slows down the bar. In the deadlift, that’s not a big deal. But in the Olympic lifts, the goal is to always be accelerating.
This is why we teach our athletes to keep their chests up during the pull. We cue them to show your chest to the crowd. This will shorten the distance from the front to the back of the torso (in relation to the center of mass), which makes it easier to keep your back in extension. We teach two other concepts during this phase, and those are:
- Sweep the bar in with the lats during the pull
- Keep pressure over the middle of the feet
I recently had the chance to speak with Coach Sean Waxman, one of my mentors and good friends. Instead of cueing with sweep with the lats, he uses graze the hairs of the leg with the bar. I like this cue better because it’s more of an external cue, which is shown in research to work better than internal cues (referencing muscles such as lats, glutes, abs, etc.).
Regardless, sweeping the bar in with the lats goes together with keeping pressure in the middle of the foot. If the bar drifts out in front, the center of mass will transfer more toward the toes. Now you have increased the lengths of both the spinal flexor moment and the hip flexor moment, making the lift much harder. Now your chance of making the lift goes way down.
[thrive_leads id=’13840′]
FIRST PULL INTO SECOND PULL
Good technique in the first pull is also about setting up the second pull. If the athlete allows the bar to drift forwards, three bad things happen:
- The lift is harder because the distance is increased in relation to the center of mass and any intervertebral joint and the hip. That means the demands for the spinal and hip extensors increase. All of this makes the transition to the second pull more difficult.
- Velocity is decreased, slowing down the acceleration of the second pull.
- The bar is in front, causing most athletes to reach their hips to the bar during the bar to body contact that happens during the second pull.
What if the athlete begins the transition to the second pull too soon? A lot of athletes who are new to the sport will perform the transition to the second pull way too soon. They get impatient and start reaching their hips to the bar. If the athlete starts the second pull too soon, here’s what happens:
- Normally this will push the bar out in front making the second and third pull more difficult.
- There isn’t as much velocity on the bar because the athlete didn’t maximize leg drive.
- Athletes will find themselves on their toes too soon, preventing maximal force against the ground and transferring the center of mass forward. Once again, forward is a place you don’t want to be.
- This will also cause a lower contact point for the bar and body connection. This will lower the peak height of the bar (making it harder to get under), and a lower contact point will normally push the bar out in front. A higher contact point lifts the bar upwards like an upper cut, but the lower contact normally does the opposite.
- Early transition will sometimes end with a knee hitting the floor. If you are one of those people who find your knees hitting the ground (which is an automatic no lift), this is probably what you’re doing.
THE SECOND PULL
The goal of the second pull is to finish in the power position, which should look like this:
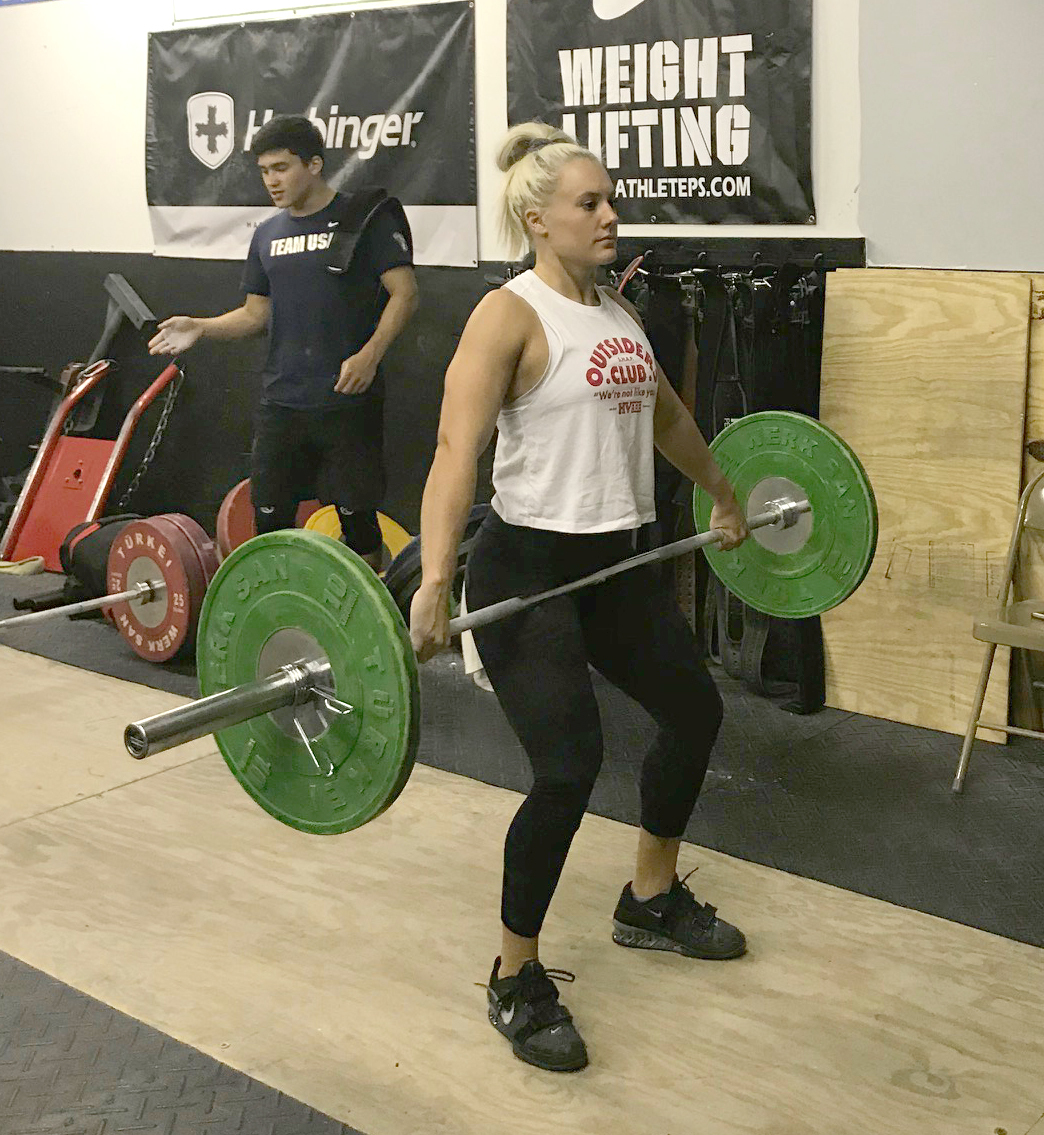
- Near vertical torso
- Shoulders on top of or slightly behind the bar
- Preferably feet flat against the floor with the center of mass over the middle of the foot
- Knees bent four to six inches
- Bar against the body (in the hip for the snatch and upper thigh/hip for the clean)
- Hip directly vertical to the heels
- Arms long and strong like cables
- Arms internally rotated, forcing the elbows out
- Eyes slightly higher than straight ahead
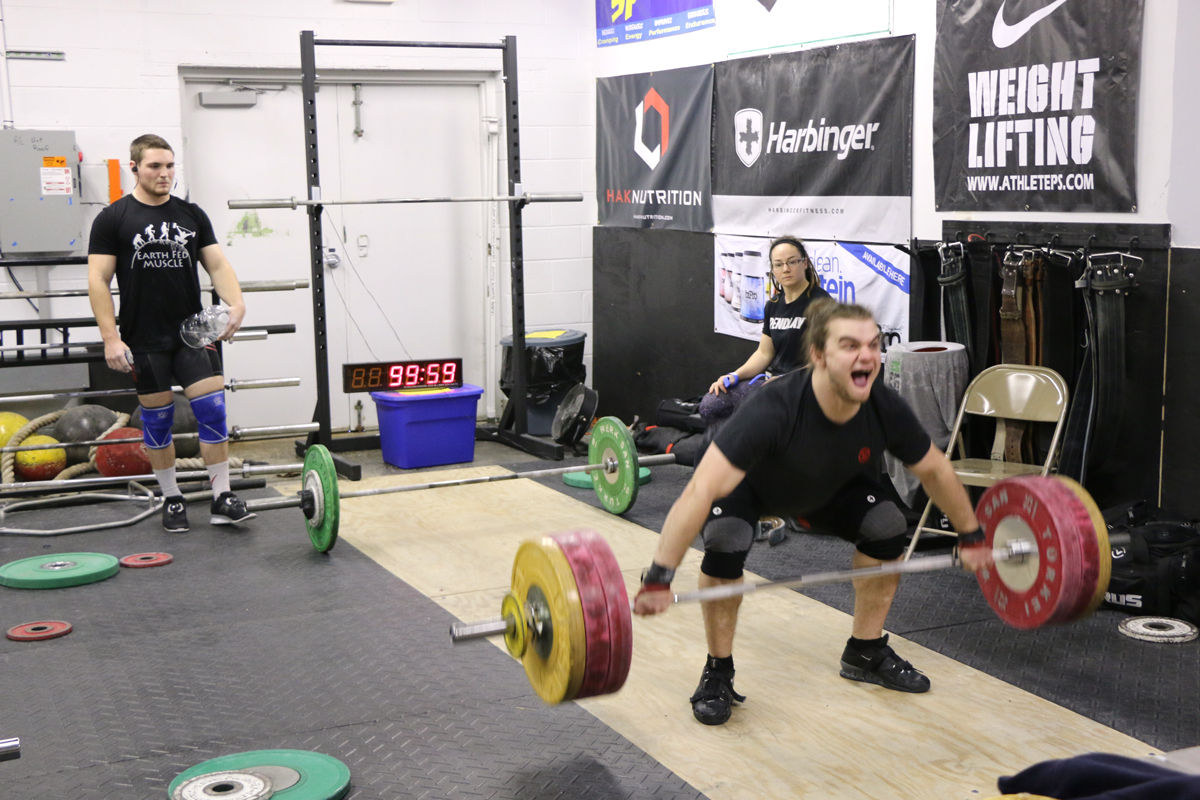
This portion of the lift should be performed more aggressively than all the rest. You will hear our coaches shouting fast through the middle or aggressive through the middle. At this point of the lift, the athlete performs an aggressive simultaneous knee and hip extension right before beginning the snappy third pull under (the fastest portion of the pull).
We teach our athletes to extend and rip. When the hips extend, the peak velocity and peak height are already determined. If you spend time trying to do anything else to peak the bar – like shrugging up, trying to pull the bar higher with the arm, or purposely performing plantar flexion – you are simply wasting time that could be better spent getting under the bar.
Let me explain this a bit more in detail before some of you take things out of context. First, I definitely want our athletes finishing the pull, which to me is where the hips and knees extend along with any natural follow-through. If an athlete comes up on the toes a bit, I am totally cool with that. Heck, Nathan Damron extends up on the toes, but he doesn’t consciously perform plantar flexion. It’s simply a natural act caused by his powerful pull. It’s the same thing when people jump. I had a 39-inch vertical leap in my prime. I never once thought about plantar flexion. It was just something that naturally happened.
The gastrocnemius is another one of those biarticular muscles. It crosses the knee and the ankle. That means when the knees extend forcefully, force is transferred down the leg – causing a forceful extension at the ankle. That’s why plantar flexion is more of a follow-through caused by a strong knee extension. With this being said, the only focus of the athlete should be knee and hip extension followed by an aggressive pull underneath the bar.
WASTING TIME IN THE SECOND PULL
Timing is everything in the sport of weightlifting. The acceleration and aggressiveness of the final extension ensures optimal bar height. The mistake that most new weightlifters make is wasting time at the top of the lift with irrelevant movements. Most new lifters focus their energy on pulling the bar as high as possible. Trust me, I get it. A higher bar is easier to catch than a lower peaked bar.
But the height of the bar is predetermined by knee and hip extension. Anything after knee and hip extension that isn’t a natural follow-through is a waste of valuable time that could have been spent ripping underneath the bar.
When the hips and knees extend, the bar is propelled upwards. The bar will then reach a peak height, and it will remain still in space for a split second before returning to the earth. The goal of an experienced weightlifter is to begin and finish the third pull during the upward trajectory and peaking phase of the barbell. The athlete will then receive the bar in a strong position.
What happens when the athlete spends too much time at the top of a lift shrugging up, pulling with the arms upwards, and purposely performing plantar flexion? Here are a few things:
- They miss the peak of the barbell, not allowing them to catch it at all.
- The bar crashes on them, making the catch more difficult to control.
- They don’t have time to catch in a strong position.
SECOND PULL INTO THIRD PULL
Just like in the first pull setting up the second pull, a lot can go wrong with the second pull that negatively affects the third pull.
What happens if the hips push past vertical, entering a more horizontal direction during the second pull?
- That’s an easy one. This negative action forces the bar forwards, making it harder to catch.
- The forward motion of the bar causes a forward catch (if caught at all), making it harder to stand up with the clean. A more difficult clean takes away from the energy left over to jerk.
What if the shoulders are forward while in the power position? This bad position will cause one of two problems:
- The shoulders may get too far behind the bar before the bar has left the hips, pushing the bar out in front
- Or the shoulders will stay in front of the bar during extension – which is basically a missed lift with the bar majorly forward.
What if the arms are externally rotated with the elbows facing toward the rear?
- This can sometimes cause the bar to float away from the body during the third pull. If they are pointed out during the pull under, the bar stays closer to the body.
What if the elbows are bent during the second pull?
- This was an absolute negative when I was a young athlete. However, a few athletes have performed snatches and cleans with bent elbows – and they’ve performed them well. Donnie Shankle comes to mind. But if you have bent elbows, and they unbend during extension, power is lost through the arms.
- A bent arm is always going to be slower than a straight and relaxed arm during the rip under of the third pull
During the final extension, the hips never pass vertical. The shoulders finish vertical and slightly back. This varies a bit from athlete to athlete: some finish more vertical and some finish back a bit more. Once an athlete finishes vertical and the bar has left the hip/upper thigh, the bar path is determined. Following through slightly back can make it easier to pull down and around the bar. This is another one of those highly debated topics. It’s a very individual movement. I am good with any movement that allows the athlete to rip under the bar as fast as possible with the bar landing in the most secure vertical position of the body.
As you can see, every step along the way of a snatch or clean relies on the preceding step. If you mess up anywhere during the pull, your chances of performing a successful lift go down. This is the beauty of weightlifting. This is what makes a successful PR attempt so sweet. So much goes into a perfect lift.
FIXING MISTAKES
I watch coaches point out mistakes all the time when I am at a competition or visiting other clubs. That’s great, as you need to point out mistakes that can lead to miss lifts. But that’s just the start.
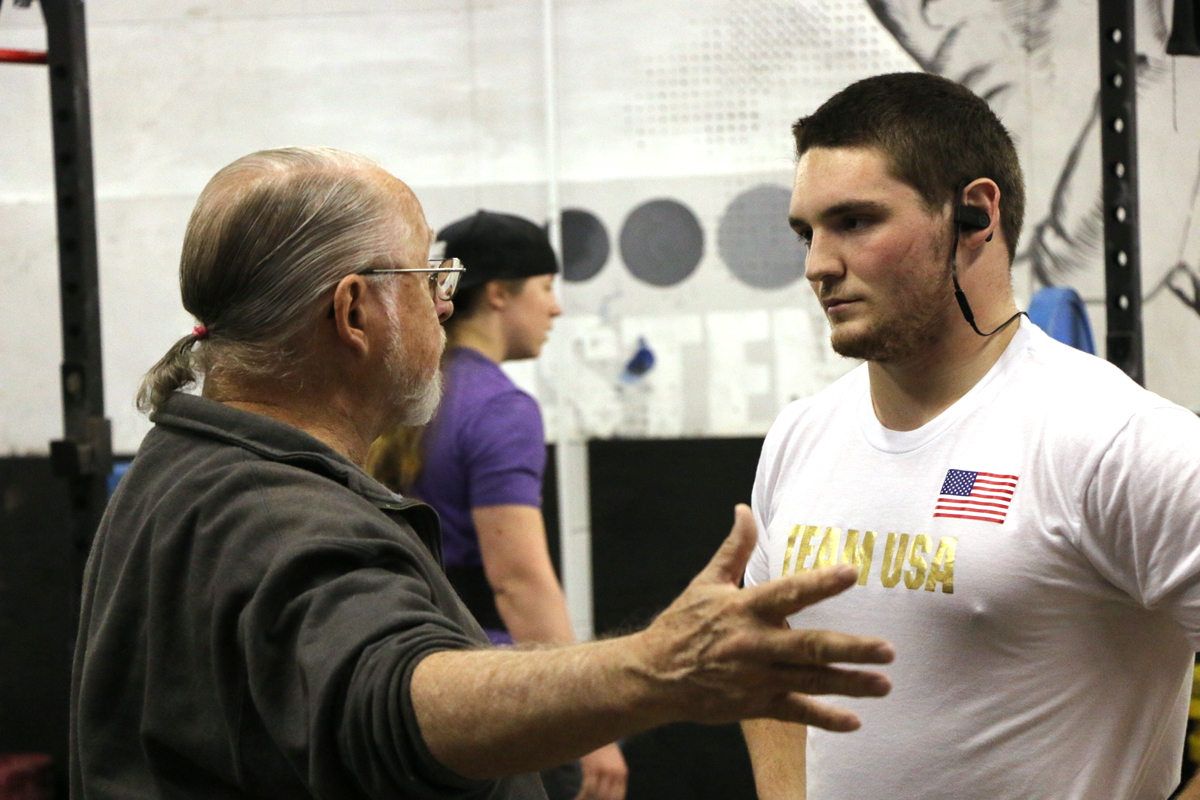
Now you need to tell or show an athlete how to fix a mistake. This is where drills and cues come in to play. Coach McCauley is the master of coming up with some awesome drills. He’s also the king of coming up with some off the wall verbal cues that sometimes correct the mistakes of an athlete in the same day.
FIRST PULL MISTAKES
Mistake #1 – The bar drifts forward right off the ground
This is the most common mistake in weightlifting in my opinion. It’s also the most frustrating because the athlete should be in control during the first few inches – at least until the speed of the lift increases. Too many athletes are concerned with ripping the weight off the floor to build as much momentum as possible in hopes of increasing the height of the bar. What they don’t understand is the second pull is more responsible for height, and the first pull’s job is to set up the second pull with good bar position.
Cues to correct this mistake:
- Chest up and sweep back
- Feet through the floor and squeeze
- Legs and chest to the crowd
Drills to correct this mistake:
- Pulls from the Mac Board. Coach McCauley showed me this drill, and I promise this thing works. You need a 4×4 piece of plywood about half an inch thick. You hang your toes off of the end of the board, and then perform any lift you want. Here’s the Mac Board in action:
The board teaches the athlete to keep pressure in the middle of the foot during the pull. If the athlete gets pulled onto the toes, the athlete will immediately know. - Pauses two inches off of the floor and a completed lift. I recommend pausing two to five seconds to program the correct position into the brain.
- Pull into pins two inches off of the floor. You will need a power rack with safety pins to complete this drill. Isometrics are the best way to strengthen a position, and some people are just weak in that position right off of the floor. I’d stick with two to four sets of one to five repetitions, with each rep consisting of a maximal effort isometric contraction for three to five seconds. You can use varied heights from a couple of inches off of the floor all the way to the knee.
Mistake #2 – The transition begins too soon
This is a mistake a lot of new lifters make because they get impatient. They’re so concerned with velocity and bar height that they rush things a bit. You might even find advanced lifters making this mistake with heavier weights. So how do you fix it?
Cues to correct this mistake:
- Stay over the bar
- Pretend your legs are longer than they are
- Long legs
- Stand up tall and continue to sweep
Drills to correct this mistake:
- Long first pull and clean or snatch. I like this one because it gives the lifter a foundation right before performing the full lift. You will want to make sure the athlete performing the movement is staying over the bar, driving with the legs until the knees are almost locked, and continuing to sweep the bar. To be clear the athlete will perform a pull with an exaggerated first pull with the bar ending somewhere around mid to upper thigh while the athlete keeps their shoulders over the bar. Next they will return the bar to the floor and then perform the full movement.
- Clean or snatch paused in a long first pull and then finish the lift. The only difference in this one and the preceding exercise is that you immediately complete the lift after the pause. The whole goal is to teach the body correct positions.
- Isometric contractions against pins. All too often athletes are simply too weak in their posterior chains to stay over the bar that long. It’s not a surprise that the strongest lifters are the best at staying over the bar – like Ilya Ilyin, Nathan Damron, and Lu Xiaojun. I’d stick with isometric contractions of maximal effort for three to five seconds. Two to four sets of one to five repetitions is a good recommendation. The bar should be somewhere around mid-thigh or higher.
- Using the Mac Board with any of these drills will enhance each drill that much more.
[thrive_leads id=’10673′]
SECOND PULL MISTAKES
Mistake #1 – Hip Push Past Vertical
I believe that this mistake happens when people watch videos without a good understanding of the lifts. Sometimes it looks like an athlete is pushing their hips into the bar when in actuality the bar is simply meeting the hips and being lifted upwards during a vertical extension.
Cues to correct this mistake:
- Focus on feet through the floor and standing up straight
- Stand up tall
- Squeeze the entire time (Sometimes the athlete stops squeezing the bar in, causing it to stay more in front after the knees. This causes the athlete to reach their hips for the bar.)
Drills to correct this mistake:
- Hangs from the power position. This is where you should always start. The body has to understand where it should end up for it to actually get there.
- Slow pull until the power position and then accelerate. I love this one to teach athletes exactly where their bodies should be during the entire lift.
- No contact lifts. Coach McCauley isn’t a fan of these and neither am I, but sometimes they’re great for this one mistake. You can’t push your hips past vertical and not make contact with the bar. This movement teaches a perfectly vertical pull. I wouldn’t use it for long, but it’s a good way to get a lifter away from overreaching with the hips.
Mistake #2 – Shoulders are in front of the bar in the power position
This mistake goes hand in hand with the first we just discussed. It’s all about understanding where the power position is. The power position is the one section of the lift that is an absolute. No one argues the technique and position of the power position.
Cues to correct this mistake:
- Finish vertical
- Up and then back
- Stand up straight
Drills to correct this mistake:
- Hangs in the power position. I like to pause two to five seconds in the power position to strengthen the position and eliminate the stretch reflex that one might get from a dip and go.
- Slow pull with pause in power position and then complete the movement. You’re probably starting to see a pattern. The best way to teach a movement is with the movement simply performed more slowly and/or with pauses.
Mistake #3 – Elbows are facing to the rear
This is a mistake that can really happen anywhere during the pull. However, it’s at the second pull where things can go really wrong. If the elbows are pointed to the rear, the bar is apt to leave the body and fly out in front during the second pull.
Cues to correct this mistake:
- Elbows out (An obvious simple reminder)
- Shoulders down and elbows out (Depressing the shoulders is a great way to relax the arms, making it easier to keep the elbows out. When an athlete shrugs up or tenses upwards in the upper body, the automatic response is for the arms to get tense.)
Drills to correct this mistake:
- Slow it down. It’s easier to correct any dysfunctional movement pattern when the speed is turned down a notch or two.
- Hangs in the power position, paused to make sure the elbows are out.
Mistake #4 – Elbows/arms are bent
Basically this one is the same as elbows facing back. If you are tensed in the arms, your arms will bend and elbows will face behind the body, causing the bar to drift away from the body after contact.
Cues to correct this mistake:
- Long arms
- Relaxed arms
- Arms like a cable
- You could also use the two from the previous mistake.
Drills to correct this mistake:
- Same as the two above.
Mistake #5 – Too much time at the top of a pull
This is the second most common mistake after getting pulled forwards off of the floor. Simply put, the best lifters in the world are the ones with the best timing. That means they spend zero wasted time at the top of the lift before beginning the snappy third pull.
Cues to correct this mistake:
- Open and sit
- Get around the bar
- Shrug down
- Stand up and go
Drills to correct this mistake:
- No hook and no feet lifts. I love these because you can’t really explode too tall at the top or the bar will leave your hands. The no feet direction will ensure the athlete isn’t purposely pushing onto the toes. Once again, I am ok with plantar flexion. We just don’t teach our athletes to consciously perform the movement.
- Lifts off of high blocks from the power position. At this height the athlete can’t generate a lot of momentum, leaving them reliant upon the third pull under the bar.
- No hook, no feet, and no contact. This one isn’t my favorite. I wouldn’t use it a lot because it uses a different bar path during the pull, but this lift teaches tremendous speed under the bar. It also requires perfect timing because the athlete receives zero extra bar height due to no bar to body contact.
SCULPTING THE PERFECT LIFT
Trust me, every athlete on earth is dealing with one of these mistakes. Weightlifting is like sculpting. You can work on one section of your game, and then you will need some work on another portion. Each iteration creates a more beautiful lift. (I stole that analogy from Arnold, but hey, it fits.)
Don’t get frustrated that you’re not perfect. Instead, enjoy the process of improvement. Master the fundamentals, perfect your technique, increase your strength, and have fun crushing those PRs.
Pingback: Remembering Don McCauley – Mash Elite Performance