
“It has always bothered me when an athlete walks up and says, “I only used this weight” or “I couldn’t do the handstand push-ups” with a look of disgust. Every athlete is different and they are all on their own journey.
This fitness race is a marathon and not a sprint. We must realize not to push athletes too far and, in turn, athletes must not get discouraged and realize that it is a culmination of training that gets them to where they want to be, not one training session.”
Coaches need to know how to program for all skill levels and athletes would benefit from knowing how best to scale workouts in any given setting.
Consider three different scenarios:
Scenario 1:
You are a high school strength and conditioning coach for a women’s basketball team in their off-season. The workout calls for strict pull-ups and running. You have 3 athletes who are unable to do strict pull-ups and 2 athletes that are coming off of ankle injuries and running is contraindicated. How do you appropriately scale them in order to give them the same stimulus as the other athletes?
Scenario 2:
You have a CrossFit class full of general population members of all different skill levels. The workout calls for handstand push-ups and heavy deadlifts. How do you appropriately scale them in order to keep them safe and still challenge them within their skill level?
Scenario 3:
You are an athlete that follows an online programming blog and you don’t have a coach right in front of you. The workout calls for movements that you are not yet proficient at? How do you scale appropriately?
Most of my focus in coaching has been with group classes (general population, youth, and competitors) mainly in a CrossFit-type setting and personal training. Although, this is where my specialty lies, regardless of if you are a CrossFit coach, high school strength and conditioning coach, or personal trainer, this applies to you. We have to know how to scale appropriately for our athletes!
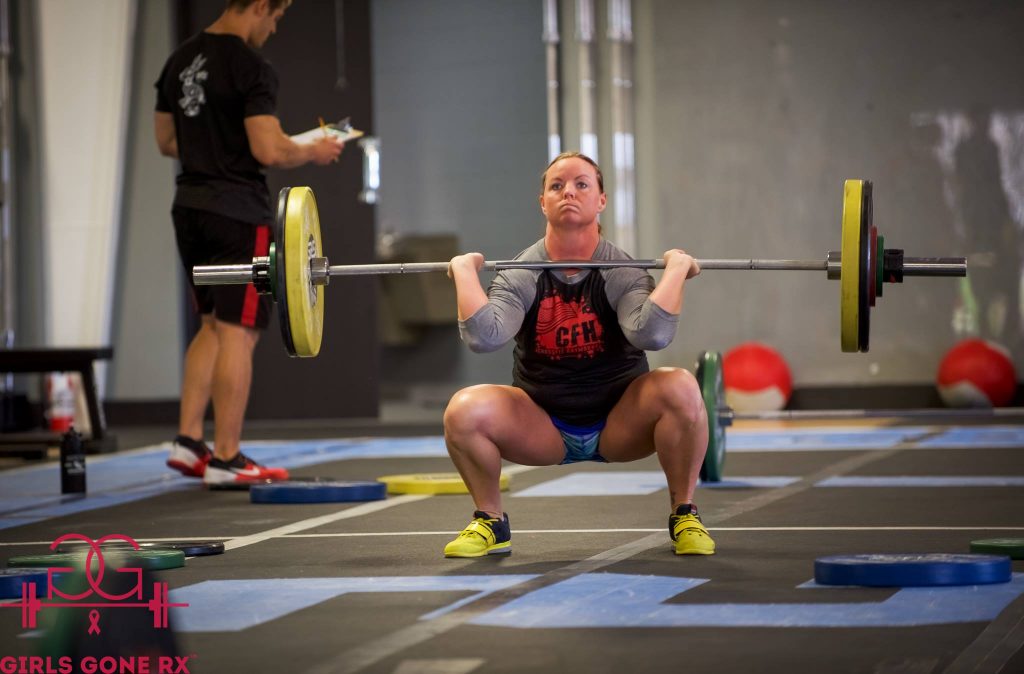
Photo credit: BAW Photography / Girls Gone Rx
Scaling is not a dirty word!
From my experience, the common theme, especially among the general population and youth classes, is the thought that scaling is a dirty word. This can’t be farther from the truth! If you are unfamiliar with a CrossFit class, at the end of the workout, each athlete’s time gets written on a whiteboard. The standard most everyone wants to reach is RX (as prescribed). Anything else is considered scaled.
It has always bothered me when an athlete walks up and says, “I only used this weight” or “I couldn’t do the handstand push-ups” with a look of disgust. Here is why! Every athlete is different and they are all on their own journey. This fitness race is a marathon and not a sprint. We must realize not to push athletes too far and, in turn, athletes must not get discouraged and realize that it is a culmination of training that gets them to where they want to be, not one training session. It is easiest to do this by having them keep a notebook of where they started versus where they are now. Sometimes, simply looking back will put it all into perspective.
Why do we scale?
Scaling is an art form coaches must learn. There are specific reasons why we scale an athlete and they need to understand the why. This will allow them to become self-sufficient, to know how to scale specific movements for future workouts, and if they are visiting another gym and working with a different coach, staying consistent. Athletes rely on us as coaches to give them safe and effective progressions that will give them the same stimulus as if they were doing the workout as prescribed.
There are different types of scaling and different reasons to scale:
- Lowering the weight to provide the correct stimulus
- Modifying gymnastics movements by using progressions due to skill level
- Alternative movements due to injury
We might have to lower the weight simply because the prescribed weight is too heavy regardless of the circumstance and lighter weight is necessary. Other times, it might be because the stimulus of the workout is for the weight to be light in order to get through the repetitions fast for an all-out effort workout. In this case, just because an athlete can do the weight, it doesn’t mean they should. I am going to use the fretted “Fran” for instance. Fran is 21 reps of thrusters at 95 pounds for men and 65 pounds for women, 21 reps of pull-ups, 15 reps of thrusters, 15 reps of pull-ups, 9 reps of thrusters, 9 reps of pull-ups. The best times in the world are sub 2 minutes. This means that you should be moving at all times and taking minimal rest breaks. For the general population, the workout should be scaled in order for it to be done in less than 7 minutes. So, for argument’s sake, you are slow at pull-ups and have to break them up AND the thruster weight is heavy, you might complete the workout, however, you won’t be getting the stimulus that is meant from Fran.
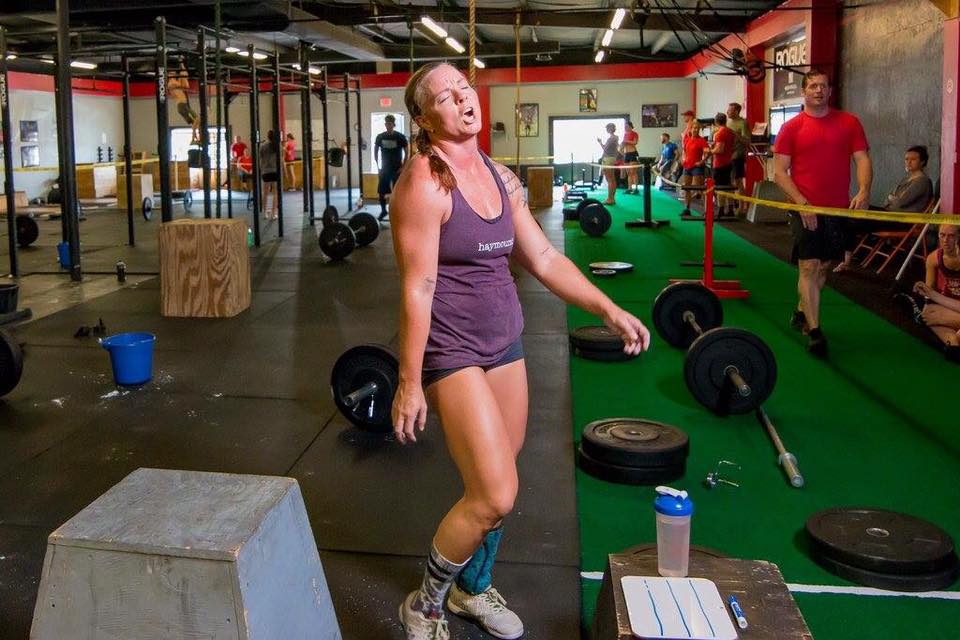
How you should probably look like after “Fran”.
There are other times when the workout is meant to be heavier to slow the athlete down, so the weight would be prescribed to be heavy. The weight might still be scaled in relation to the prescribed weight, however, if we use the thruster again, the weight you use for this workout would be heavier than the weight you used for Fran. You also have to look at the individual athlete and know their strengths. Women tend to have better strength endurance and can rep weights closer to their max than men. So, that can sometimes make it difficult to simply place a percentage on the weight to get the appropriate stimulus.
Some athletes may not be able to perform the bodyweight movements as written and will have to use progressions instead. The progression should be a version of the same movement that will allow the athlete to get stronger and eventually be able to perform the movement they are aiming for. You can also program these progressions on a skill day to reinforce proper movement patterns in all athletes. Common bodyweight movements are push-ups, handstand push-ups, handstand walks, pull-ups (chin and chest to bar), ring rows, toes to bar, dips (stationary and rings), muscle ups (ring and bar), L-sits, box jumps, and one-legged squats.
[thrive_leads id=’9005′]
Progressions for Common Bodyweight Movements
The progressions I am going to list are not the end all be all, however, these are what I have found have worked best for the athletes I have trained.
Push-ups
You want your athletes to be able to perform a push-up where they can keep their body tight and get full range of motion. For me, full range of motion is chest to the ground and full lock out in the top position. Hand placement depends on what muscle group you want to work, but standard push-ups are where the shoulder, elbow, and wrist are all stacked. The elbows stay nice and tight and don’t flare out. As far as progressions go, I prefer not to use the knees approach. Too many athletes don’t keep a straight body when they do them this way. Rather, raise the height of the hands to take some of the load off of the exercise. The higher the hands, the less the load is. As the athlete progresses, lower the height of the hands to make it more difficult.
Handstand Push-ups
To start, if an athlete cannot perform proper push-ups, then they should not progress at all to this movement. Continue to have them doing regular push-ups. If they can do regular push-ups, but are unable to do handstand push-ups, these are progressions I recommend. First, they can do what is called pike push-ups. To get to this position, you start out in the normal push-up position and walk your hands back until you are in a vertical pressing position rather than a horizontal pressing position as with the regular push-up.
Another progression is pike push-ups off of a box. The feet get placed on the box and the hands are walked back to where the hips and shoulders are stacked and eyes are staring at the box. Both of these progressions strengthen the shoulders and will help to increase strength in this movement. Negatives are a great strength component for athletes who can get upside down on the wall and hold themselves in that position for at least 15 seconds with arms locked out. Have them kick up on to the wall and slowly lower themselves down to a mat. Do this for 3-5 sets of 3 two to three times a week.
Handstand Holds/Walks
This can be as simple for some athletes as just getting upside down for the first time against a wall. Kicking up drills with a spot might be the first step in getting athletes to feel comfortable upside down. A drill that can be done to increase shoulder strength is getting in the same position as the box pike push-ups and walking around the box in both directions. Also, starting out farther away from the wall, kicking up and walking the rest of the way to the wall is a great way to begin handstand walking. As athletes progress, simply move them farther out from the wall.
Pull-ups
It is my firm belief if an athlete cannot do strict pull-ups, they have no business doing the kipping pull-up. Strength should come first before ever introducing a ballistic movement. Once strict pull-ups are accomplished, never stop training them, but kipping pull-ups can be added into the arsenal. So, this progression is more for the athletes who struggle with strict pull-ups. What I have found works best to accomplish the same stimulus as a pull-up is a seated jackknife pull-up. Put a barbell on the rack where it sits low enough for the athlete to sit on the floor and extend the arms fully. The shoulders should be stacked over the hips during the movement. Straightening the legs makes this movement harder, while bending the knees and placing the heels on the floor makes it easier. This allows for the legs to be used as needed, yet keeps the tempo strict, and allows for full range of motion.
For chin over bar, simply pull until the chin breaks the plane of the bar. For chest to bar, pull until the chest touches the bar. Negatives are also another great strength component that can be done in small sets. Have them jump up to the top of the pull-up position and slowly lower themselves down and then drop. Do this for 3-5 sets of 3 two to three times a week.
Ring Rows
Ring rows can be made difficult if the athlete is pulling their entire weight by placing their feet on a box or bench and getting in a horizontal position. The arms are straight and then pull the rings all the way to the armpits for full range of motion. The key is not to use the hips for momentum, but to instead keep a nice straight rigid body throughout. To scale this movement, the feet come down to the floor and the athlete walks their feet back to a position where they can get full range of motion without using the hips for momentum. The larger the angle to the floor, the less the load is.
Toes to Bar
This movement requires a good amount of core strength as well as grip strength. Some athletes may not be able to hold their own body weight on a pull-up rig. If that is the case, bring them down to the floor to do v-ups or leg raises. If the athlete can hold their body weight from the pull-up rig, but is unable to get their toes fully to the bar, they can do knee raises to 90 degrees. The rhythm of the toes to bar can be difficult to master. I recommend teaching the rhythm of the toes to bar to athletes and tell them to get the toes as close to the bar as possible while keeping the rhythm. Keep going even if the toes don’t reach the bar on every rep. They will eventually be able to do them and they will have already mastered the rhythm part. It is sometimes hard to unlearn the muscle memory of swinging in between the reps.
Dips
First of all, make sure the athlete has the core strength to hold themselves steady in the support position on the rings. If not, you can put them on a stationary dip bar. Full range of motion in a dip is full lockout at the top and the shoulder moves below the elbow with the height of the hips changing drastically in the bottom of the dip, meaning, the body stays vertical and there isn’t a lot of forward lean in the movement. Progressions that I have found work best are lowering the rings or the dip bar where the person can place their feet on the ground. This allows them to get a full range of motion in either the rings or stationary bar while using the legs as needed. Raise the rings as they get more proficient in the movement and this will force them to use more upper body rather than their legs.
Muscle-ups
Unless an athlete can perform efficient strict chest to bar pull-ups and dips, they will most likely lack the strength to do the muscle up. For these athletes, continue to work the strength component with them on the pull-ups and dips. Have them do ring pull-ups to the armpits and hold for 2-3 seconds. Have them do dead hang holds from the rings in a false grip. Do strict dips. For athletes who can do the pull-ups and dips efficiently, they may be lacking in the simple transition phase. For these athletes, work with them on the above drills and add in transition drills from low rings.
L-Sits
L-sits can be performed on parallettes, hanging from a pull-up bar, or from the support position on the rings. An l-sit is where arms are fully locked out with shoulders, elbows and wrists stacked, legs raised and straight parallel to the ground and chest is up. Progressions for this movement would be a bringing the knees in closer to the chest to make the hold easier or hanging from the pull-up bar with legs straight and parallel to the floor or knees bent.
Box Jumps
Unless an athlete has an injury that is contraindicated with jumping, I recommend having them start out jumping on a very low box to get the desired stimulus rather than step-ups. Jumping has much more of an effect on the heart rate than step-ups do. Continue to progress the athlete in height as you can. This will sometimes depend on the number of reps to be performed.
One-legged Squats (Pistol Squats)
Before introducing this movement to an athlete, make sure they are proficient in a simple air squat first. Due to lack of mobility/flexibility, some athletes will have trouble performing a one-legged squat. Progressions I have found work are using a box. You can start with a taller box and lower the box as they are able to perform the progression correctly. I also like taking a band and placing it across the j-hooks of the pull-up rig. This progression requires more stability than the box progression. The lighter the band, the harder the progression. The band should be placed so that when the athlete sits back, their butt is already in contact with the band.
What about injuries?
When an athlete is injured, coaches must know how to modify movements in order to keep the athlete safe. One example would be a thruster. If an athlete has a shoulder issue and the pressing movement is contraindicated, simply have the athlete perform the front squat portion of the movement. Another example would be if an athlete has an ankle injury and running is contraindicated, place the athlete on the rower or the air bike instead. If jumping is contraindicated, have them do step ups instead. Think through the movements you have programmed for the day, think about the athletes that you have, and have a plan for modifications going into the day’s workout beforehand.
The responsibility does not solely lie on the coaches, however. Athletes, you have a responsibility as well. You have to trust the coach, put your ego aside, and be coachable. When the coach tells you to reduce the weight or perform certain progressions for a movement, believe they have your best interest in mind and only want to see you get better. Ask why, but don’t argue. Once you have mastered a progression, don’t be afraid to make the progression harder in order to continue advancing. Make sure to let the coach know if you have an injury or something is bothering you and one of the movements might exacerbate the issue. Communication is key to your success and your safety.
These are just a few suggestions I have found has worked from my own experience. Having only been in this industry for a little over 6 years, I realize I still have so much to learn. I know, I know a woman getting started at age 35? Yes! Thankfully, CrossFit opened the door for me to pursue my passion for coaching. I find that when you surround yourself with those who are successful in the industry and know more than you, you get better! I will never stop learning and I hope you don’t either. Continue to hone your craft and continue to learn from others. Don’t be satisfied with the knowledge you have. I’ve written a few resources and programs specifically for functional fitness in our program samplers. Check them out if you’re looking for new ways to program for your athletes.
[thrive_leads id=’9005′]
Crystal